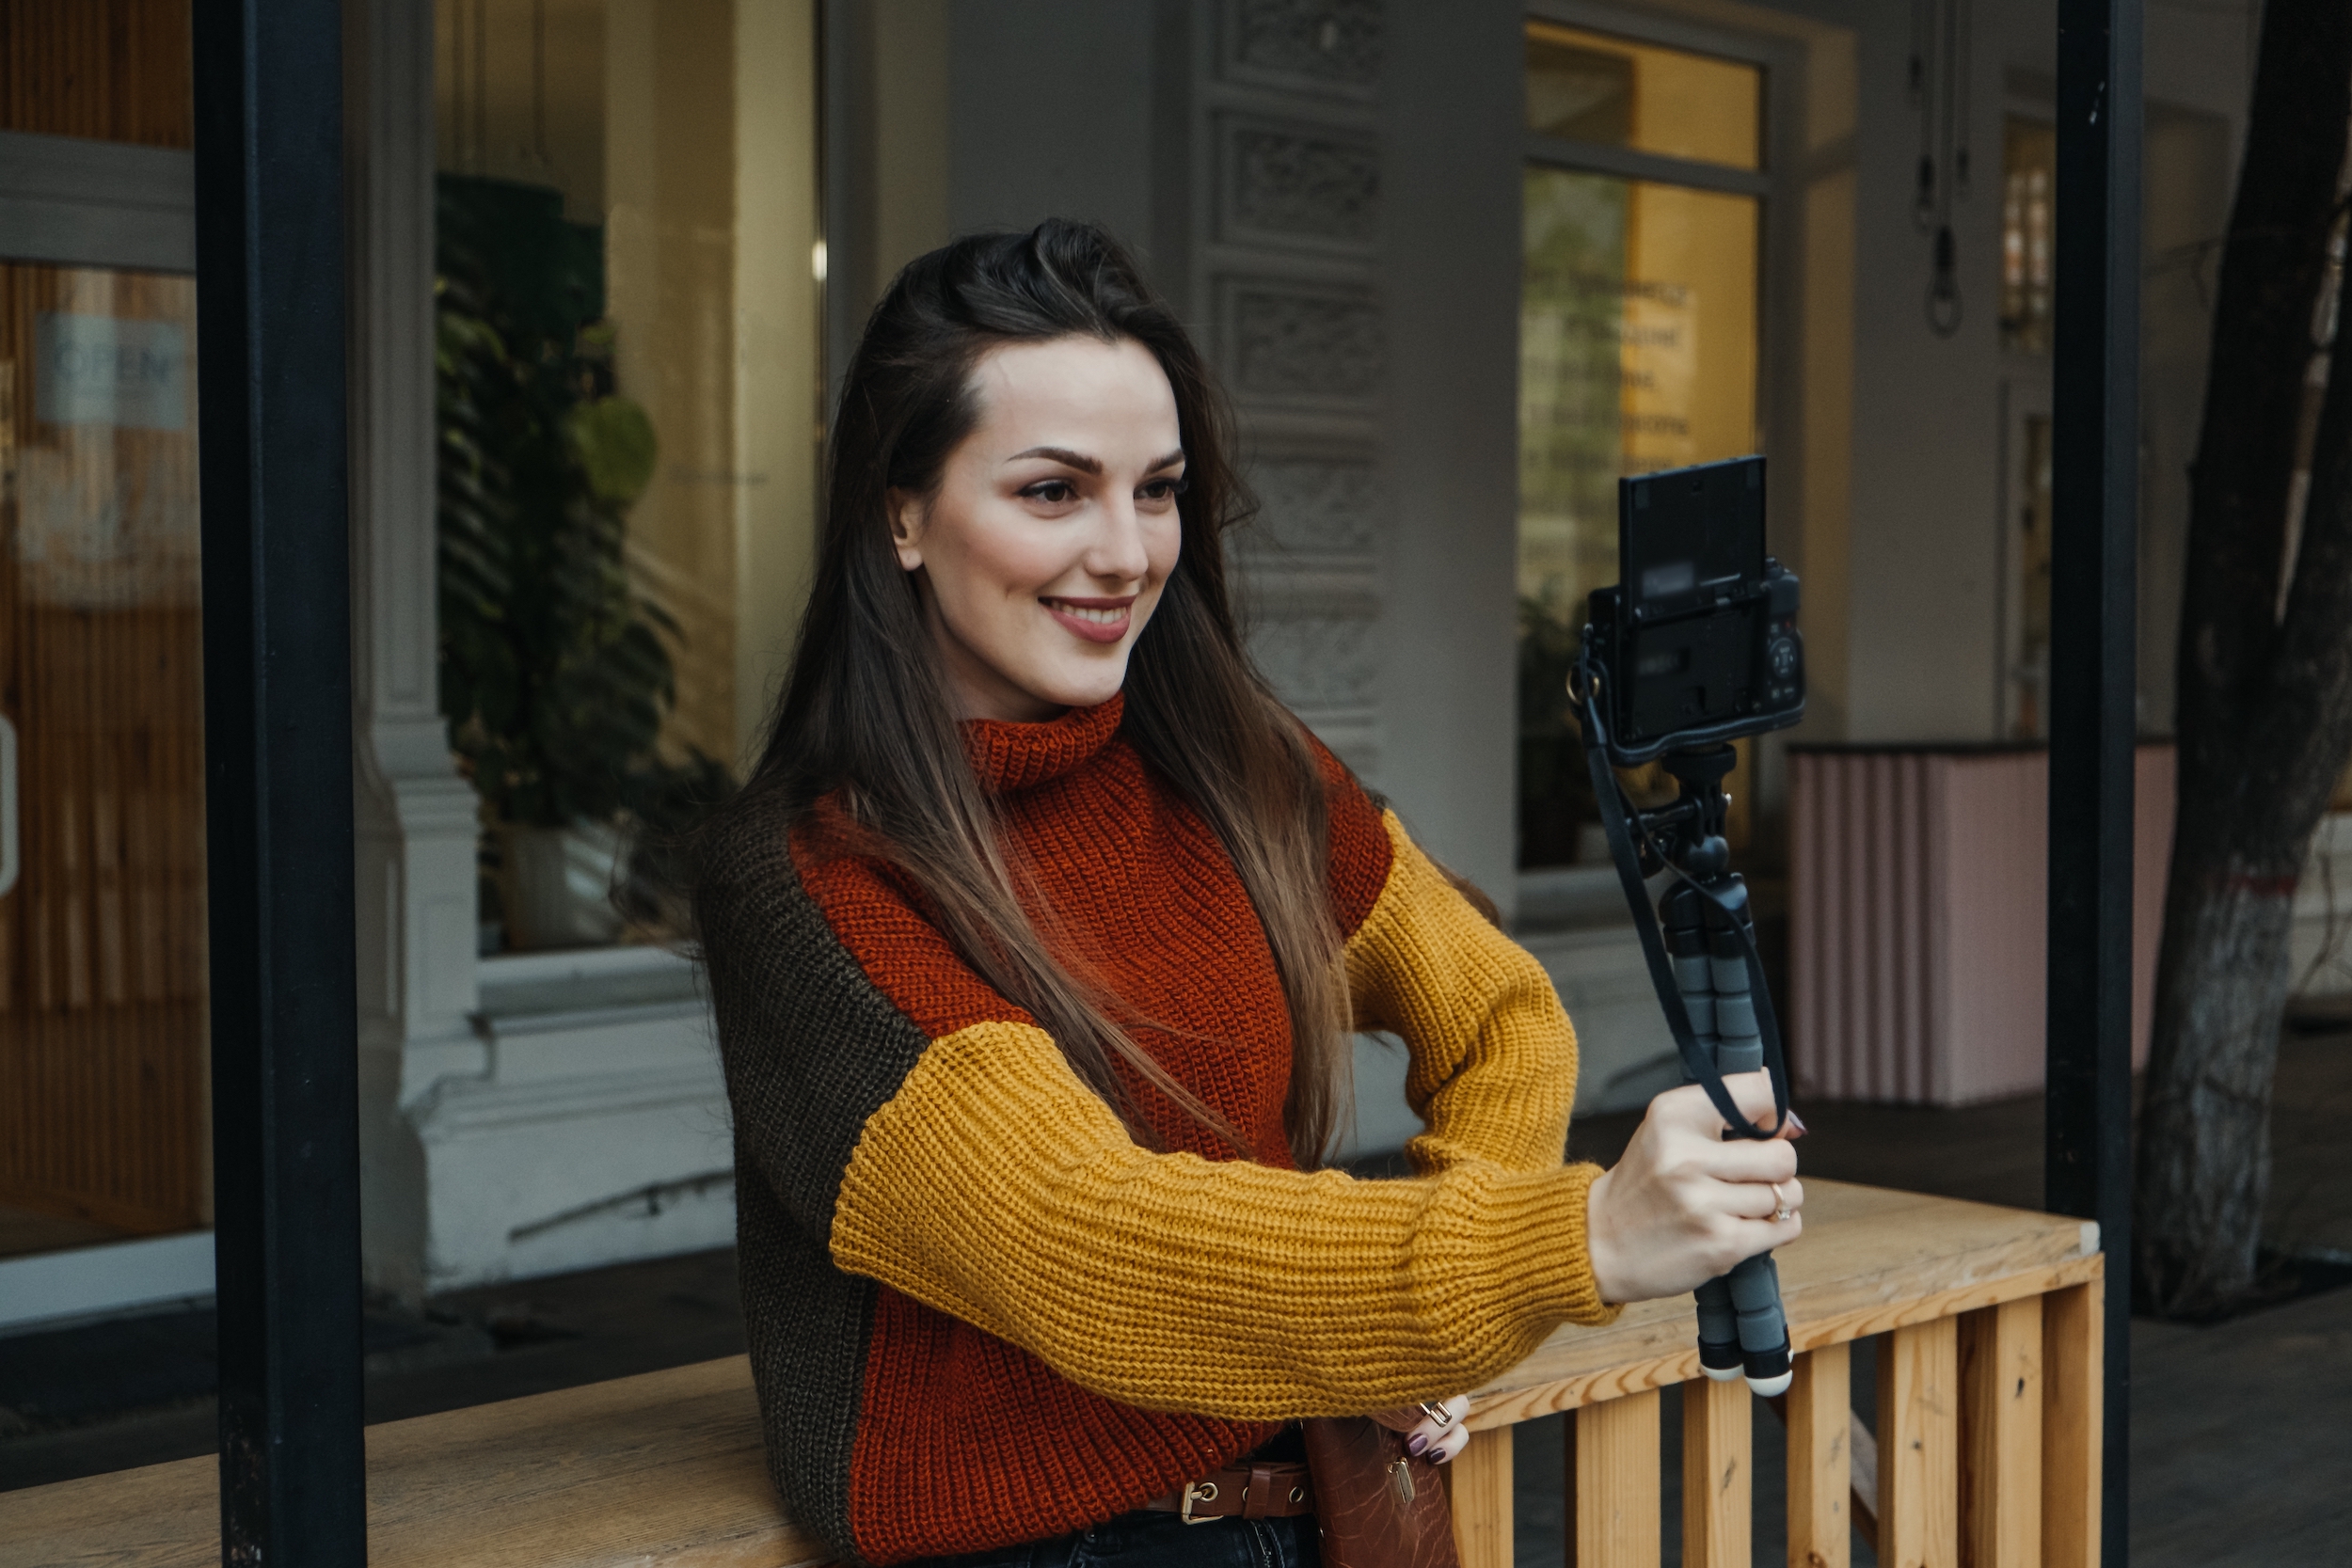
Video essays are a growing trend in the college admissions landscape. More and more schools, from Brown to Wake Forest to WashU, are offering video essays as an alternative to interviews or, in some cases, written essays (like at Babson). Making a video essay may sound intimidating, but you probably already have the tools to do it, and we’re here to help you put your best foot forward! Below are some pro video essay tips:
Preparation and Practice
- Think of this as an additional essay that can complement and/or expand the themes already present in your application, and give a sense of your personality, energy, and presence. This is not a professional film or performance—it’s just another chance to tell your story!
- Write out a full draft or robust outline of your response and practice it like a monologue. You don’t have to memorize every word, but this will help you plan for the important beats you’ll hit.
- Revise your outline/script for content, clarity, and brevity as you go.
- Consider whether a prop or visual aid could help tell your story. For some students, having an object, picture, or even place to describe can be a great entry point.
- Double check the time limit and specifications of each school before you film!
Filming
Equipment:
- Videos DO NOT need to be professionally filmed, lit, edited etc. — you can use your phones or laptops to record.
- If you’re using a phone, stabilize it by propping it up between two books or using a phone tripod.
Background:
- Record in front of a plain background.
- Make sure that there is sufficient lighting to see you well.
- Avoid filming in front of a window; it’s better to have the natural light coming towards you than from behind!
Clothing:
- Select clothes that show your authentic personality.
- A good on-camera technique for clothes is to choose colors that help you pop against your background and let us focus on your face.
Camera position:
- Generally, the best practice is to film in landscape (horizontally)
- Test the framing to make sure that your hands aren’t cut off (especially if you are a “hand talker”!)
- Standing or seated is fine — whichever makes you feel most confident.
- Make sure to look at the camera so that it feels like you are making eye contact with your audience!
Editing and Submitting
- You can easily edit your video using apps like iMovie, Quicktime, and Vimeo on your phone or laptop.
- Some schools will ask you to host your video on a site like Vimeo, GoogleDrive, or YouTube and provide them with the link. Others will ask you to upload the file directly to their portal.
- If you need to condense the file size, you can usually do this in iMovie or Quicktime by selecting “Export As” and following the prompts for a lower resolution.
- Make sure to review your video online/in the portal to ensure that it has uploaded successfully and the resolution is clear!


